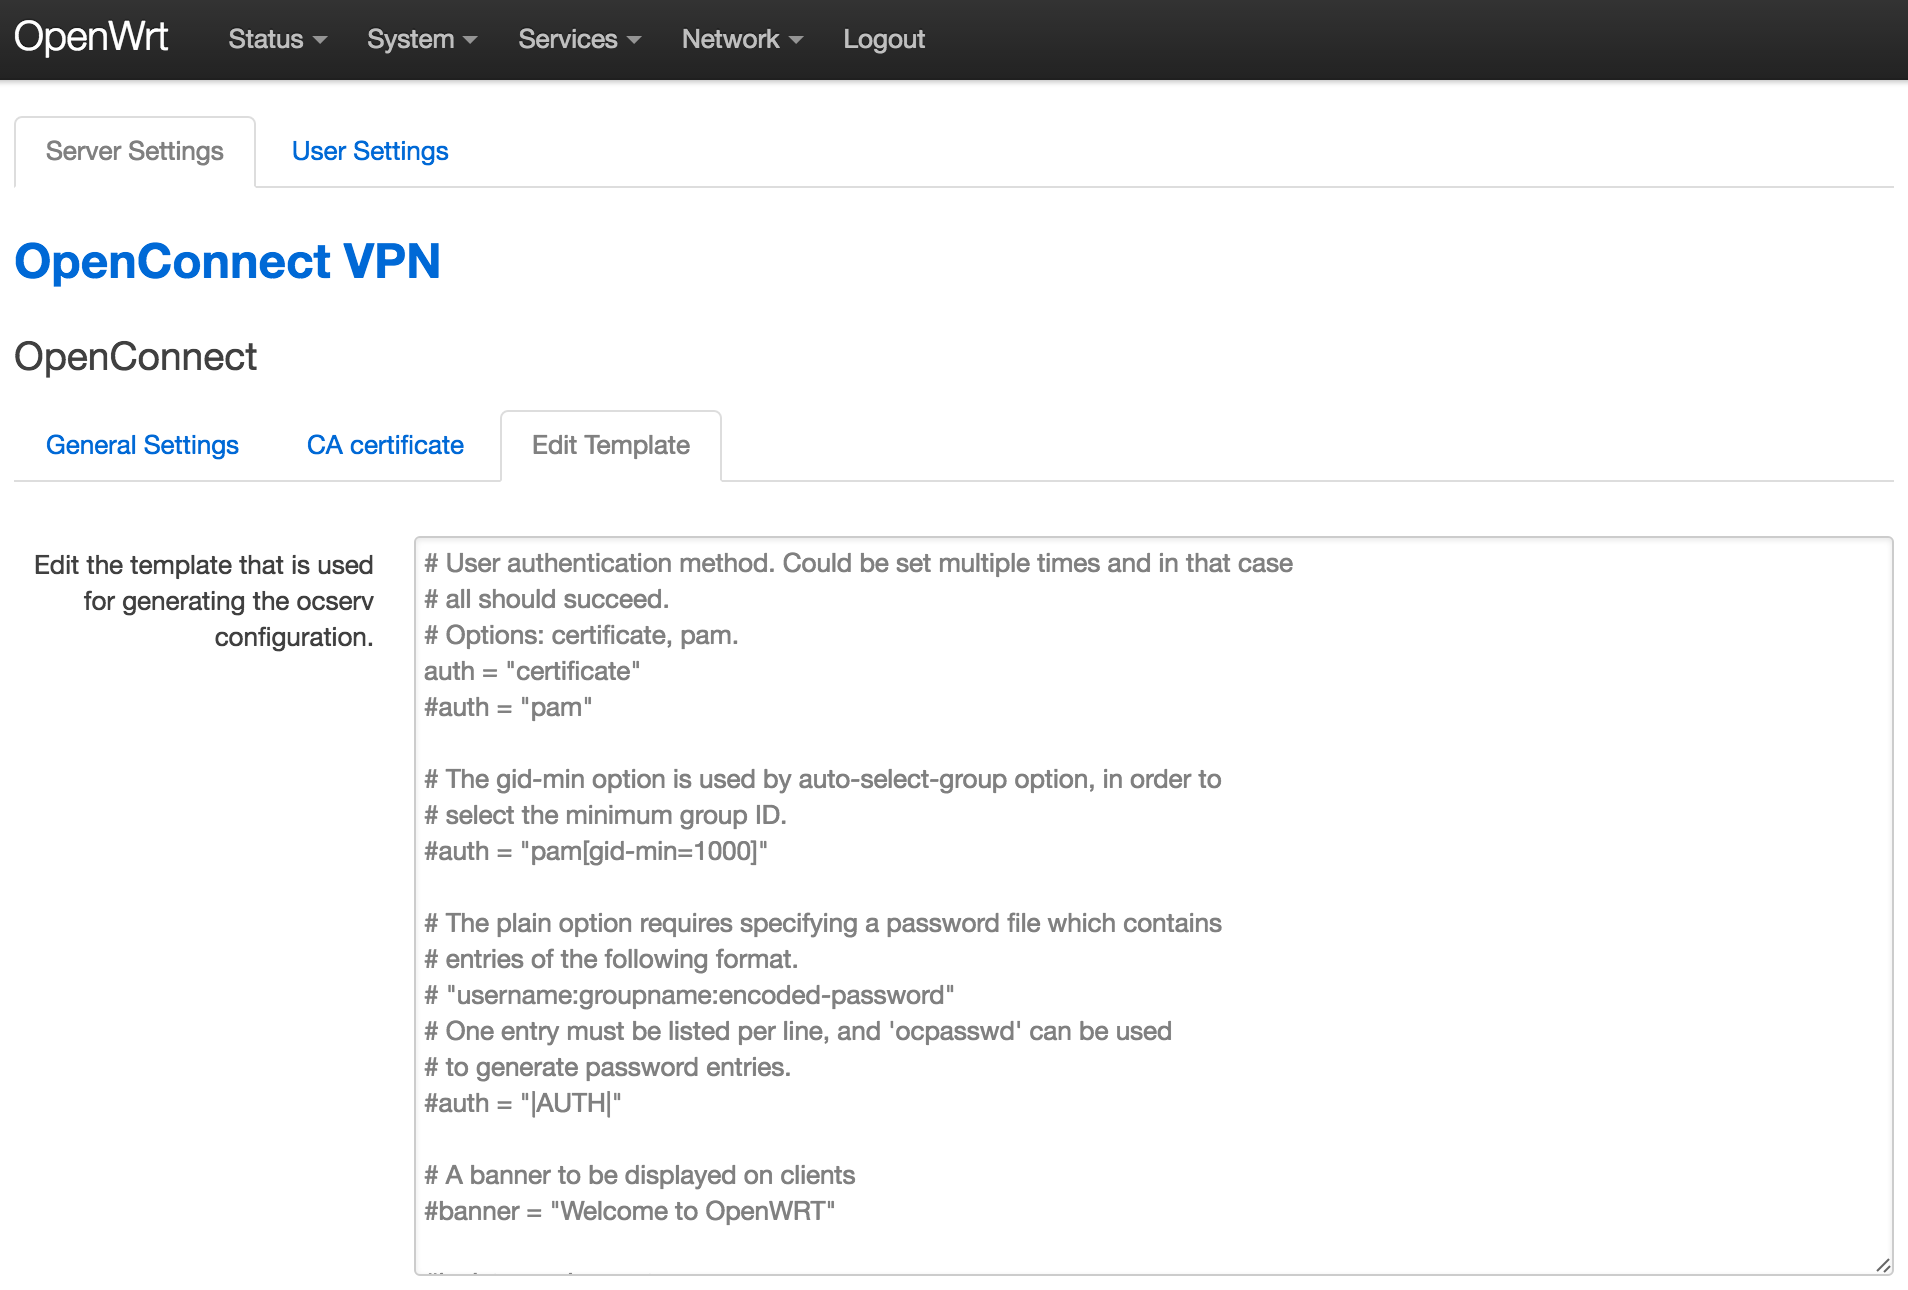
# User authentication method. Could be set multiple times and in that case # all should succeed. # Options: certificate, pam. auth = "certificate" #auth = "pam"
# The gid-min option is used by auto-select-group option, in order to # select the minimum group ID. #auth = "pam[gid-min=1000]"
# The plain option requires specifying a password file which contains # entries of the following format. # "username:groupname:encoded-password" # One entry must be listed per line, and 'ocpasswd' can be used # to generate password entries. #auth = "|AUTH|"
# A banner to be displayed on clients #banner = "Welcome to OpenWRT"
#isolate-workers = true
# When the server has a dynamic DNS address (that may change), # should set that to true to ask the client to resolve again on # reconnects. listen-host-is-dyndns = |DYNDNS|
# Use listen-host to limit to specific IPs or to the IPs of a provided # hostname. #listen-host = [IP|HOSTNAME]
# Limit the number of clients. Unset or set to zero for unlimited. #max-clients = 1024 max-clients = |MAX_CLIENTS|
# Limit the number of client connections to one every X milliseconds # (X is the provided value). Set to zero for no limit. rate-limit-ms= 100
# Limit the number of identical clients (i.e., users connecting # multiple times). Unset or set to zero for unlimited. max-same-clients = |MAX_SAME|
# TCP and UDP port number tcp-port = |PORT| |UDP|udp-port = |PORT|
# Stats report time. The number of seconds after which each # worker process will report its usage statistics (number of # bytes transferred etc). This is useful when accounting like # radius is in use. #stats-report-time = 360
# Keepalive in seconds keepalive = 32400
# Dead peer detection in seconds. dpd = |DPD|
# Dead peer detection for mobile clients. The needs to # be much higher to prevent such clients being awaken too # often by the DPD messages, and save battery. # (clients that send the X-AnyConnect-Identifier-DeviceType) #mobile-dpd = 1800
# MTU discovery (DPD must be enabled) try-mtu-discovery = false
# The key and the certificates of the server # The key may be a file, or any URL supported by GnuTLS (e.g., # tpmkey:uuid=xxxxxxx-xxxx-xxxx-xxxx-xxxxxxxx;storage=user # or pkcs11:object=my-vpn-key;object-type=private) # # There may be multiple certificate and key pairs and each key # should correspond to the preceding certificate. server-cert = /etc/ocserv/server-cert.pem server-key = /etc/ocserv/server-key.pem
# Diffie-Hellman parameters. Only needed if you require support # for the DHE ciphersuites (by default this server supports ECDHE). # Can be generated using: # certtool --generate-dh-params --outfile /path/to/dh.pem #dh-params = /path/to/dh.pem
# If you have a certificate from a CA that provides an OCSP # service you may provide a fresh OCSP status response within # the TLS handshake. That will prevent the client from connecting # independently on the OCSP server. # You can update this response periodically using: # ocsptool --ask --load-cert=your_cert --load-issuer=your_ca --outfile response # Make sure that you replace the following file in an atomic way. #ocsp-response = /path/to/ocsp.der
# In case PKCS #11 or TPM keys are used the PINs should be available # in files. The srk-pin-file is applicable to TPM keys only, and is the # storage root key. #pin-file = /path/to/pin.txt #srk-pin-file = /path/to/srkpin.txt
# The Certificate Authority that will be used to verify # client certificates (public keys) if certificate authentication # is set. ca-cert = /etc/ocserv/ca.pem
# The object identifier that will be used to read the user ID in the client # certificate. The object identifier should be part of the certificate's DN # Useful OIDs are: # CN = 2.5.4.3, UID = 0.9.2342.19200300.100.1.1 cert-user-oid = 2.5.4.3
# The object identifier that will be used to read the user group in the # client certificate. The object identifier should be part of the certificate's # DN. Useful OIDs are: # OU (organizational unit) = 2.5.4.11 #cert-group-oid = 2.5.4.11
# The revocation list of the certificates issued by the 'ca-cert' above. #crl = /etc/ocserv/crl.pem
# Uncomment this to enable compression negotiation (LZS, LZ4). |COMPRESSION|compression = true
# To enforce perfect forward secrecy (PFS) on the main channel. #tls-priorities = "NORMAL:%SERVER_PRECEDENCE:%COMPAT:-VERS-SSL3.0:-RSA"
# The time (in seconds) that a client is allowed to stay connected prior # to authentication auth-timeout = 40
# The time (in seconds) that a client is allowed to stay idle (no traffic) # before being disconnected. Unset to disable. #idle-timeout = 1200
# The time (in seconds) that a mobile client is allowed to stay idle (no # traffic) before being disconnected. Unset to disable. #mobile-idle-timeout = 2400
# The time (in seconds) that a client is not allowed to reconnect after # a failed authentication attempt. min-reauth-time = 360
# Banning clients in ocserv works with a point system. IP addresses # that get a score over that configured number are banned for # min-reauth-time seconds. By default a wrong password attempt is 10 points, # a KKDCP POST is 1 point, and a connection is 1 point. Note that # due to difference processes being involved the count of points # will not be real-time precise. # # Score banning cannot be reliably used when receiving proxied connections # locally from an HTTP server (i.e., when listen-clear-file is used). # # Set to zero to disable. max-ban-score = 50
# The time (in seconds) that all score kept for a client is reset. ban-reset-time = 300
# In case you'd like to change the default points. #ban-points-wrong-password = 10 #ban-points-connection = 1 #ban-points-kkdcp = 1
# Cookie timeout (in seconds) # which he can reconnect. That cookie will be invalided if not # used within this timeout value. On a user disconnection, that # cookie will also be active for this time amount prior to be # invalid. That should allow a reasonable amount of time for roaming # between different networks. cookie-timeout = 300
# Whether roaming is allowed, i.e., if true a cookie is # restricted to a single IP address and cannot be re-used # from a different IP. deny-roaming = false
# ReKey time (in seconds) # ocserv will ask the client to refresh keys periodically once # this amount of seconds is elapsed. Set to zero to disable. rekey-time = 172800
# ReKey method # Valid options: ssl, new-tunnel # ssl: Will perform an efficient rehandshake on the channel allowing # a seamless connection during rekey. # new-tunnel: Will instruct the client to discard and re-establish the channel. # Use this option only if the connecting clients have issues with the ssl # option. rekey-method = ssl
# Script to call when a client connects and obtains an IP # Parameters are passed on the environment. # REASON, USERNAME, GROUPNAME, HOSTNAME (the hostname selected by client), # DEVICE, IP_REAL (the real IP of the client), IP_LOCAL (the local IP # in the P-t-P connection), IP_REMOTE (the VPN IP of the client), # ID (a unique numeric ID); REASON may be "connect" or "disconnect".
# These scripts are not needed if you have setup an interface for all vpns+ # devices. #connect-script = /usr/bin/ocserv-script #disconnect-script = /usr/bin/ocserv-script
# UTMP use-utmp = false
# Whether to enable support for the occtl tool (i.e., either through D-BUS, # or via a unix socket). use-occtl = true
# socket file used for IPC with occtl. You only need to set that, # if you use more than a single servers. occtl-socket-file = /var/run/occtl.socket
# PID file. It can be overriden in the command line. pid-file = /var/run/ocserv.pid
# The default server directory. Does not require any devices present. chroot-dir = /var/lib/ocserv
# socket file used for IPC, will be appended with .PID # It must be accessible within the chroot environment (if any) #socket-file = /var/run/ocserv-socket socket-file = ocserv-socket
# The user the worker processes will be run as. It should be # unique (no other services run as this user). run-as-user= ocserv run-as-group= ocserv
# Set the protocol-defined priority (SO_PRIORITY) for packets to # be sent. That is a number from 0 to 6 with 0 being the lowest # priority. Alternatively this can be used to set the IP Type- # Of-Service, by setting it to a hexadecimal number (e.g., 0x20). # This can be set per user/group or globally. #net-priority = 3
# Set the VPN worker process into a specific cgroup. This is Linux # specific and can be set per user/group or globally. #cgroup = "cpuset,cpu:test"
# # Network settings #
# The name of the tun device device = vpns
# Whether the generated IPs will be predictable, i.e., IP stays the # same for the same user when possible. predictable-ips = |PREDICTABLE_IPS|
# The default domain to be advertised |ENABLE_DEFAULT_DOMAIN|default-domain = |DEFAULT_DOMAIN|
# The pool of addresses that leases will be given from. ipv4-network = |IPV4ADDR| ipv4-netmask = |NETMASK|
# The advertized DNS server. Use multiple lines for # multiple servers. # dns = fc00::4be0 #dns = 192.168.1.2
# The NBNS server (if any) #nbns = 192.168.1.3
# The IPv6 subnet that leases will be given from. |ENABLE_IPV6|ipv6-network = |IPV6ADDR| |ENABLE_IPV6|ipv6-prefix = |IPV6PREFIX|
# The domains over which the provided DNS should be used. Use # multiple lines for multiple domains. #split-dns = example.com
# Prior to leasing any IP from the pool ping it to verify that # it is not in use by another (unrelated to this server) host. ping-leases = false
# Unset to assign the default MTU of the device # mtu =
# Unset to enable bandwidth restrictions (in bytes/sec). The # setting here is global, but can also be set per user or per group. #rx-data-per-sec = 40000 #tx-data-per-sec = 40000
# The number of packets (of MTU size) that are available in # the output buffer. The default is low to improve latency. # Setting it higher will improve throughput. #output-buffer = 10
# Routes to be forwarded to the client. If you need the # client to forward routes to the server, you may use the # config-per-user/group or even connect and disconnect scripts. # # To set the server as the default gateway for the client just # comment out all routes from the server. #route = 192.168.1.0/255.255.255.0 #route = 192.168.5.0/255.255.255.0 #route = fef4:db8:1000:1001::/64
# Configuration files that will be applied per user connection or # per group. Each file name on these directories must match the username # or the groupname. # The options allowed in the configuration files are dns, nbns, # ipv?-network, ipv4-netmask, ipv6-prefix, rx/tx-per-sec, iroute, route, # net-priority and cgroup. # # Note that the 'iroute' option allows to add routes on the server # based on a user or group. The syntax depends on the input accepted # by the commands route-add-cmd and route-del-cmd (see below).
# Groups that a client is allowed to select from. # A client may belong in multiple groups, and in certain use-cases # it is needed to switch between them. For these cases the client can # select prior to authentication. Add multiple entries for multiple groups. #select-group = group1 #select-group = group2[My group 2] #select-group = tost[The tost group]
# The name of the group that if selected it would allow to use # the assigned by default group. #default-select-group = DEFAULT
# Instead of specifying manually all the allowed groups, you may instruct # ocserv to scan all available groups and include the full list. That # option is only functional on plain authentication. #auto-select-group = true
# The system command to use to setup a route. %{R} will be replaced with the # route/mask and %{D} with the (tun) device. # # The following example is from linux systems. %{R} should be something # like 192.168.2.0/24
route-add-cmd = "/sbin/route add -net %{R} dev %{D}" route-del-cmd = "/sbin/route del -net %{R} dev %{D}"
# This option allows to forward a proxy. The special strings '%{U}' # and '%{G}', if present will be replaced by the username and group name. #proxy-url = http://example.com/ #proxy-url = http://example.com/%{U}/%{G}/hello
# # The following options are for (experimental) AnyConnect client # compatibility.
# Client profile xml. A sample file exists in doc/profile.xml. # This file must be accessible from inside the worker's chroot. # It is not used by the openconnect client. #user-profile = profile.xml
# Binary files that may be downloaded by the CISCO client. Must # be within any chroot environment. #binary-files = /path/to/binaries
# Unless set to false it is required for clients to present their # certificate even if they are authenticating via a previously granted # cookie and complete their authentication in the same TCP connection. # Legacy CISCO clients do not do that, and thus this option should be # set for them. cisco-client-compat = |CISCO_COMPAT|
#Advanced options
# Option to allow sending arbitrary custom headers to the client after # authentication and prior to VPN tunnel establishment. #custom-header = "X-My-Header: hi there"